Organic White Chocolate Body Body Now Available

I am excited to announce that you can now purchase my Organic White Chocolate Body Body and get it shipped to you! Each month I will be rotating products out so get this while you can, It is a limited product and It is already selling fast!

You can purchase it at my website http://www.primalcotton.com/new-products/

Steph

2015-07-22 18.01.18

Lotion Recipe

A few months back I posed a video tutorial for homemade bee’s wax lotion.  Today I am sharing this recipe. I use this as my go to recipe for homemade lotion. The recipe I am giving you is what I call a base, you can always play around with it and add different oils and essential oils to adjust the smell and therapeutic effects. This lotion is super emollient and works really well for dry skin in the winter. I also use this recipe as a face moisturizer when my skin gets really dry during the winter months. Since this recipe is a base I use it as a base for diaper rash ointment and muscle salve. I just adjust the oils and essential oils I put in it. I am telling you the possibilities are endless. There is also an added bonus of it being chemical free and safe to use on your kids :). 


How to Make an Easy Beeswax Lotion

1 c. olive oil

1/2 c. coconut oil or avocado oil

1/2 c. beeswax (I use the pellets because they melt faster)

20 drops (approximately) essential oil – my favorite blend of oils are orange and spearmint this makes a great smelling lotion. If you want to have a vanilla lotion you can use vanilla extract 🙂

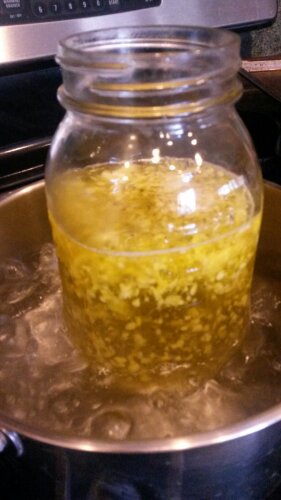
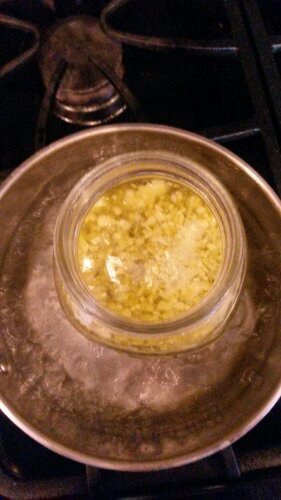
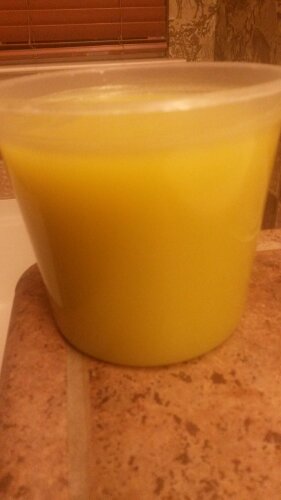
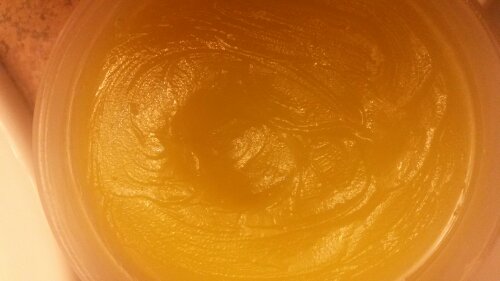
Combine olive oil, coconut oil and beeswax pastilles into a pint sized canning jar. Put this jar into a saucepan and fill the saucepan with water until it comes 3/4 of the way up the canning jar, being careful not to get water into the oil mixture. Put on the stove over medium/low heat. Heat and stir occasionally until melted. Let cool to room temperature either by leaving out or quicken the process by putting into the refrigerator. During the cooling process, put a fork into the jar and stir vigorously every 15 minutes or so. Once at room temperature, a essential oil. That’s it. 

Notes: I use this everyday so when I make this I normally do a double recipe and it last me about 4-6 weeks using it everyday.

image

image
image

image

Cave Baby Mexican Rice

I came up with this recipe after I learned how to make REAL Mexican rice. My girls babysitter is an amazing cook and my girls where complaining that my rice wasn’t as good as hers. I can’t say I blame them though because her rice is really tasty. I finally decided to ask her for the recipe and she told me that she would just teach me how to make it. I really scored the jack pot on this one! She taught me how to make authentic rice but I do make a few minor adjustments at home so I guess it’s not as authentic but the girls still love it and eat it so I guess it works.  When I make it with cauliflower I add onion because it gives it a bit more flavor and texture.  I also leave out the store bought bouillon cube because it is made with MSG. Other than that I do everything else exactly the same.

Shortly after learning how to make the rice I decided to try and make a paleo friendly version and adapted this method to cauliflower rice and it has been a huge hit in my house.  Ok I’m not gonna lie my son still wrinkles his nose up at it, but that is just because he knows it’s a vegetable but he eats it. The girls love it and tear it and that is saying a lot for them. I am happy to say this recipe is 100% cave baby approved! If only I had a stamp to put on here 🙂 lol

I will try and get some pictures up of this recipe soon 🙂

Cave Baby Mexican Rice

1 head of cauliflower

¼ cup of finely diced onions

1 clove of  garlic

1 cup of chicken stock (You can use my recipe or a box will work too)

½ cup of tomato sauce or 1 whole tomato

Salt and pepper to taste

1 Tablespoon of butter

1 Teaspoon of olive oil or coconut oil


  1. Rinse cauliflower and cut off the stocks (you could save them for soup). Roughly chop cauliflower into pieces that will fit in a food processor
  2. Working in stages put small batches of cauliflower in the food processor. Pulse until it is the size of small pieces of rice. Place cauliflower in a bowl and put aside. Continue with the remainder of the cauliflower until you have finished all of it
  3. In a blender put the stock and tomato sauce blend until all of the ingredients are incorporated
  4. In the a large sauce pan add oil and butter. Allow butter  to melt over medium/high heat
  5. Once the butter is melted add the whole garlic clove to the oil and allow to infuse the oil for a minute
  6. Add diced onions and sprinkle with a dash of salt and pepper. Allow to slightly brown
  7. Add cauliflower and cook until slightly brown
  8. Add chicken stock and allow to come to a boil
  9. Cover and allow to cook for 20min or as long as it takes for all of the liquid to absorb. Uncover the last 10 minutes of cooking
  10. Fluff with a fork and enjoy!

Granola Recipe

Image

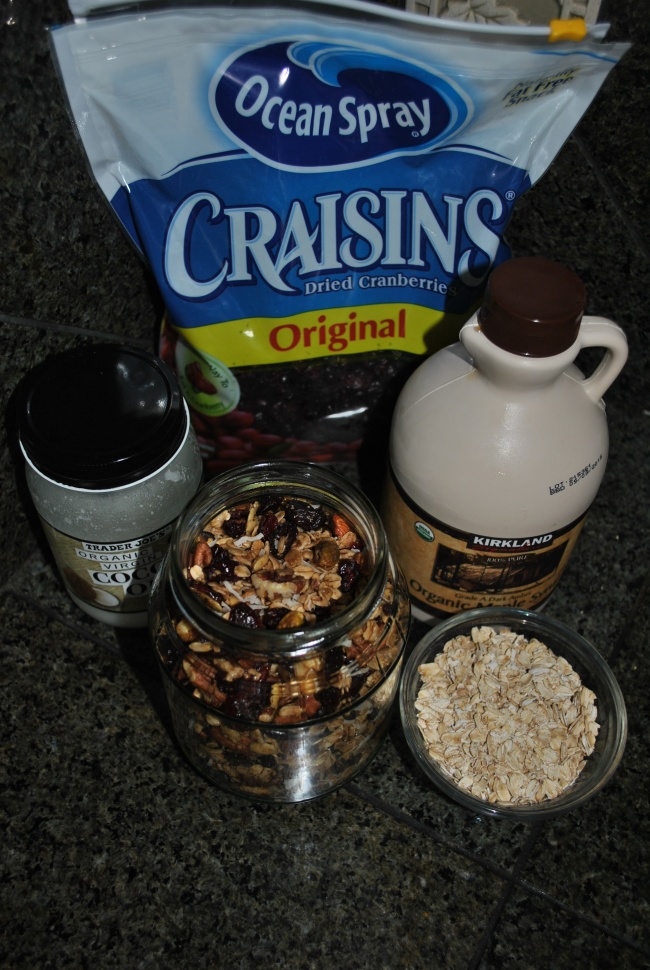
There is something about fall that makes me want to make granola. I don’t know what it is. This morning I decided to whip up a batch for hubby and the kids. I made this recipe with oats because the family loves them but sadly oats don’t agree with my digestive track. 😦 If you are going 100% grain free you could do this without the oats and it would work just fine. It was actually pretty torturous because this stuff smells amazing when it is baking. It’s ok though I ended up making up for it by making chocolate zucchini bread for myself :). This recipe is really easy to make, is sugar free and has lots of healthy fats in it, so I don’t feel bad about feeding it the kids. Granola is one of those food items that I really hate to spend money on because it is so expensive and I normally have all of the ingredients at the house.  Plus I think mine is way better than any store bought granola you can get. 🙂

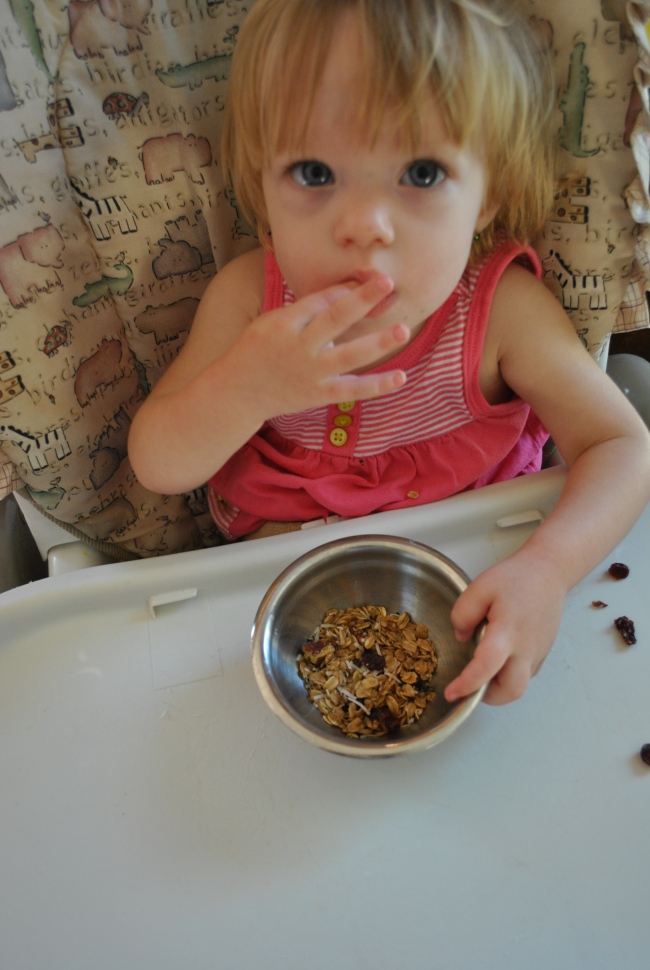
When I offered this to my daughter Emma she refused to eat it. Emma is 18 months old and is going through a “ I don’t like any food item I don’t know, and I am super stubborn and I am not going to do what you want, stage” lol.  When I finally got her to taste it she went nuts with it. I swear she is the most stubborn out of all of my kids and I have no idea where she gets it from! J So this recipe is Emma approved and if she will eat it your kids probably will too.


Image

Another thing I love about this recipe is that is looks really pretty. I like to put my granola in a glass jar because it seems more enticing to eat. I truly believe we eat with our eyes before our mouths and anytime you can make food look pretty it’s a plus. I am also a huge jar freak so anytime I can put something in a jar I will.lol


1 ½ cup whole oats

½ cup cranberries (raisins or dried cherries would work too)

½ cup pecans (or any kind of nuts you have on hand) broken up into small pieces

¼ cup of pumpkin seeds (you could also do sunflower seeds)

¼ cup dried coconut (optional)

2TBS coconut oil melted (or any other light oil you have on hand but don’t use olive oil)

½ cup pure maple syrup or honey

2TBS vanilla

1TSP cinnamon

Pinch of salt

When you purchase your nuts and seeds it is best if they are raw because you are going to bake them in the oven. If you don’t have raw nuts it’s not the end of the world though.

  1. You will want to get a large cookie sheet that will allow all of this mixture to spread out evenly. Preheat oven 275F
  2. In a small bowl mix melted coconut oil, syrup, vanilla ,salt, and cinnamon until combined
  3. In a big bowl mix all of the dry ingredients
  4.  Pour wet mixture over the nust and oat mixture, sir until combined
  5. Spread mixture out evening onto cookie sheet
  6. Bake in oven at 275F for 45min stirring every 15min. If you want your mixture extra crunchy you can let it cook an extra 15min.
  7. Cool completely
  8. Store in an airtight container.

Healthier Pumpkin Latte Recipe (Dairy Free)

I have another amazing recipe for everyone today!

Fall is one of my absolute favorite times of the year and even though it is still 90 degrees here in Northern California, Labor Day has come and gone and that means it’s almost fall. One of my favorite fall traditions is getting a Pumpkin Latte from Starbucks. There is just something about it that makes me smile. I have so many great memories surrounding this beverage and it always reminds me of my best friend and sister. It has so much sentimental value that one of my oldest friends still texts me as soon as it comes out. It’s like a race to see who will discover it first.lol. Well this year I was really bummed out because, now that I am dairy free it means no more Pumpkin Latte :(. Then I saw a post on Facebook of a recipe for pumpkin creamer. I immediately tried to make the recipe myself hoping it would somehow replace my beloved Pumpkin Late. Sadly this recipe did not, but what it did do is make me experiment with my own recipe and I have found a pretty tasty alternative to Starbucks Pumpkin Latte and it’s a whole lot cheaper and healthier. Here ya go!

Healthier Pumpkin Latte

1 Can of Full Fat Coconut Milk

¼ Cup of Pumpkin Pie Filling

1 Teaspoon Cinnamon

1 Teaspoon Allspice

1 Egg Yolk

1 Tablespoon Coconut Oil Melted

3-6 Tablespoons Maple Syrup or Honey (to taste)

Poor coconut milk, pumpkin pie filling, spices, egg yolk, and maple syrup into a blender. Mix on high until all of the ingredients are incorporated. Slowly mix in coconut oil until it is well incorporated. Poor your creamer into a jar and you are done. Add it to your favorite coffee J

Notes

This mixture should be kept in the fridge.

If you like your creamer spicy you may want to add more cinnamon or top with cinnamon.

If you don’t want your mixture really sweet start off with the lowest syrup or honey and slowly add more to taste.

This would be great with coconut whip cream on top!